Around 2010 they started selling copper LED string lights that are almost invisible. I started checking out the possibilities. I envision artwork on walls decorating both the inside and outside of homes and bars.
In Nov 2019, I started a project called Witness. the goal is to hang eyes all over Santa Cruz de Tenerife as witnesses to corruption.
Candles give great ambience in a house, but I never take the time to light them. The great thing about solar string lights is they have a sensor, so they automatically turn on when it’s dark. Depending on the light, they last about 3-8 hours, just when you can appreciate them: in the evening.
I’m a bit old to flirt with police, so I hung my “hairy heart” solar graffiti on this metal sculpture with a magnet instead of superglue. Unfortunately, with only a magnet, a windstorm knocked it down the very next day. I took this as a sign that I should stick to lighting up my own house.
Buying the lights
What are the best options when buying solar string lights? Amazon, eBay, or Alibaba? For my art, I’m interested in the following options for my copper LED string lights:
Number of lights: The usual options are 100, 120, 150, and 200 lights. With the same amount of power, the more lights you have means the dimmer each light will be. In “Making the art”, I explain how to add an extension.
Solar panel power: I’ve seen 2V solar panels and 5.5V solar panels. Better to have fewer but more powerful panels connected to the art. If you open up the solar panel, you’ll see a rechargeable battery that can usually be replaced, though one seller has the wires soldered directly to the battery.
Solar panel connection: The makers all like to include a stake to put in the ground, which I throw away. I’m interested in solar panels for the wall or window frame of my house. So far, all of the larger 5.5V solar panels I have seen include 3 holes in their connection piece so you can screw it into a window frame. None of smaller 2V panels include holes, only a connection to a stake.
None include a flat panel to glue the panel to the side of the home or to glue a magnet to it for attaching to metal, but with the holes, any flat piece of wood will do.
Lead line: distance between the solar panel and the first lights. For inside the house, you’ll probably want a lead line between 2-4 meters. The makers all wrap the lead line in black or white plastic tube. It would be less visible and easier to close a window over raw copper wire. In any case, even with the plastic tube, you can still close a window hard over the line or even cut the tube off at that moment. The exposed wire is enameled and will not lose any current.
Light spacing: distance between two lights. Wrapping the string lights around the wire takes as much time as building the wire frame. If wrapping around wire, 5 cm is much better than the usual 10 cm — it takes a lot less time to wrap.
Flashing/colors: I’m not interested in multiple modes (flashing lights) or colors, only warm white.
Options at Amazon: There are many vendors selling solar LED string lights on Amazon. I think some are the Chinese manufacturers and some are third party vendors. Of the ones I have bought, I haven’t seen any difference in quality. In fact, it’s quite possible that most come from the same manufacturer, so I would ignore the stars in the reviews.
I want 5.5V solar panels and 5mm light spacing , but almost all sell 2V solar panels with 10mm light spacing. Many of the sellers in Amazon don’t give full specs of their products, or give contradicting specs.
As of 8/2017, the only seller I found on amazon.com who confirms a 5.5V solar panel is: Anteco 150 LED
The only seller I found on amazon.com who sells lights with 5cm spacing instead of 10cm is: Icicle 120 LED.
I then bought samples from a Chinese company through alibaba.com. They had 5.5V solar panels and 5mm light spacing. Is anybody else looking for these options or has found sellers? Please let me know. The Chinese company also has a 3-wire option instead of 2 wires. Is the 3rd wire a ground? I don’t know yet.
Ali Express had better deals than Amazon, but you have to search because the prices (and shipping prices) vary wildly. The standard 100 LED solar string lights cost me about 5€ compared to 8€ at Amazon: Ali Express
Checking out on eBay, I only saw a few options. Not worth it.
Making the art
You can either watch this video or read below. There are a few things I learned after making the video.
I’m a bit old to flirt with police, so I hung my “hairy heart” solar graffiti on this metal sculpture with a magnet instead of superglue. Unfortunately, with only a magnet, a windstorm knocked it down the very next day. I took this as a sign that I should stick to lighting up my own house.
Here’s how I’ve been making the string light art.
Building the wire frame: I use either 3mm galvanized or plastic-coated steel wire to make the form, with thin wire to hold the 3mm wire together or for shorter segments. 3mm steel wire is thick enough to maintain its shape. (Aluminum wire bends more easily but is more expensive and hard to find.) “Galvanized” means it’s coated with zinc so it won’t rust if you have the art outside. Update: I now prefer plastic-coated wire for outside art. I’ve noticed the zinc can wear off over time.
About the form: I try to keep the form simple — eyes, hairy hearts, stick figures, etc. When it’s too complicated, it’s hard at night to see what it is. Small loops make it difficult to wrap the lights around later.
Of course, wrapping around natural forms, such as a tree branch you find, looks great also.
Wrapping the lights: Once the wire frame is finished, I wrap the lights around it all. This takes about the same time as building the wire frame. Make sure you measure the distance from where the solar panel will be to the closest part of the art and start there. Even a window facing north will receive enough light to light up your artwork for 3 hours in the evening.
Sometimes I wrap some of the frame with strong crepe paper (called “silk paper” in Spain) and papier mache glue. When it dries, the paper tightens like a drum skin.
Removing an LED light: What if you don’t want some lights to light up, like in the lead line, or between words or letters, or if making a face? It’s not too hard to take small clippers and cut the light in half without cutting the copper wires.
Extending the lights: If you do make a mistake and cut a copper wire, all is not lost. The wire is enameled/galvanized — that is, coated with non-conductive metal. To fix this, or to extend the lights, you can sand the end of the wire to remove this coating, then you can twist the wires together again.
However, a much better option is to buy telephone wire connectors, also called “jelly crimps”. Search the web for “telephone wire connector UY2”. (Apparently UY2 is smaller than UR2). Once you insert the two wires, you can crimp with ordinary pliers. A very simple way to add more lights to the end! Note that adding an extension will distribute the electricity and cause all the lights to be a bit dimmer. So depending on your artwork, you decide how many solar panels you want to use.
Corrosion: Make sure that all the wires you use for the structure are galvanized. For outdoor art, you might want to use plastic-coated wire, especially if you live in a humid area. Any spots missing the galvanized coating will rust, and rust everything around it, including the string lights. You’ll know it when thin string light wire changes color. The corrosion process speeds up when a wire is carrying current.
I used some older wire to hold together the fat 3mm wire. This caused problems in an unusual way: when I moved a bit of the structure in a certain place, it would light up. I moved it back, and it would stop. Somewhere, I suppose, the string wire is touching the old wire and causing a short circuit.
Maintenance: BAfter 1-3 years, your artwork may stop working. Check for corrosion (discoloring of the wires). If it’s not that, then maybe the rechargeable battery is dying. For most of the lights, that’s not a problem. Just open up the solar panel and pop in a new 1.2V Ni-Cd battery. A few solar string light models, though, do not have removable batteries. The bigger panels with 3.7V rechargeable batteries are not the AA size, so they’re not readily available in a store.
Otherwise, it might be that the solar panel itself is dead. In that case, cut the lights from the solar panel, grab a new solar panel and cut off its lights, then plug in the new solar panel using the telephone wire connectors (see Extending the lights above). That way, you don’t have to go through all the work of re-wrapping the LED wires all around your structure again.
Making eyes (see my Witness project): for eyes 110 cm wide, measure 5 meters of wire. For eyes 80 cm wide, measure 3 meters of wire. Straighten the wire a few times to give a real broad curve. It helps to draw the eyes on a big sheet of cardboard as a model. Do your best to get the curves right.
Get curve 1 right, make the bend, then get curve 2 more or less right, then do some taping as shown. You can leave the wire longer at one edge to give the eyes an egyptian flair. Done! Now you can use the first eye as a model for the second one. Now you’re ready for the lights. I use one solar panel for each eye. Wrap the first light at the tear duct. Then just keep wrapping. You’ll have enough wire for a second wrap on all wire. When you’re ready for the second wrap, keep the lights separate from each other by occasionally wrapping real tightly.
Gallery
It’s difficult to do justice to this art with a photo. Time release night time shot, or by covering the panels so the lights light up in the day?
Anyway, these photos give an idea of the possibilities:
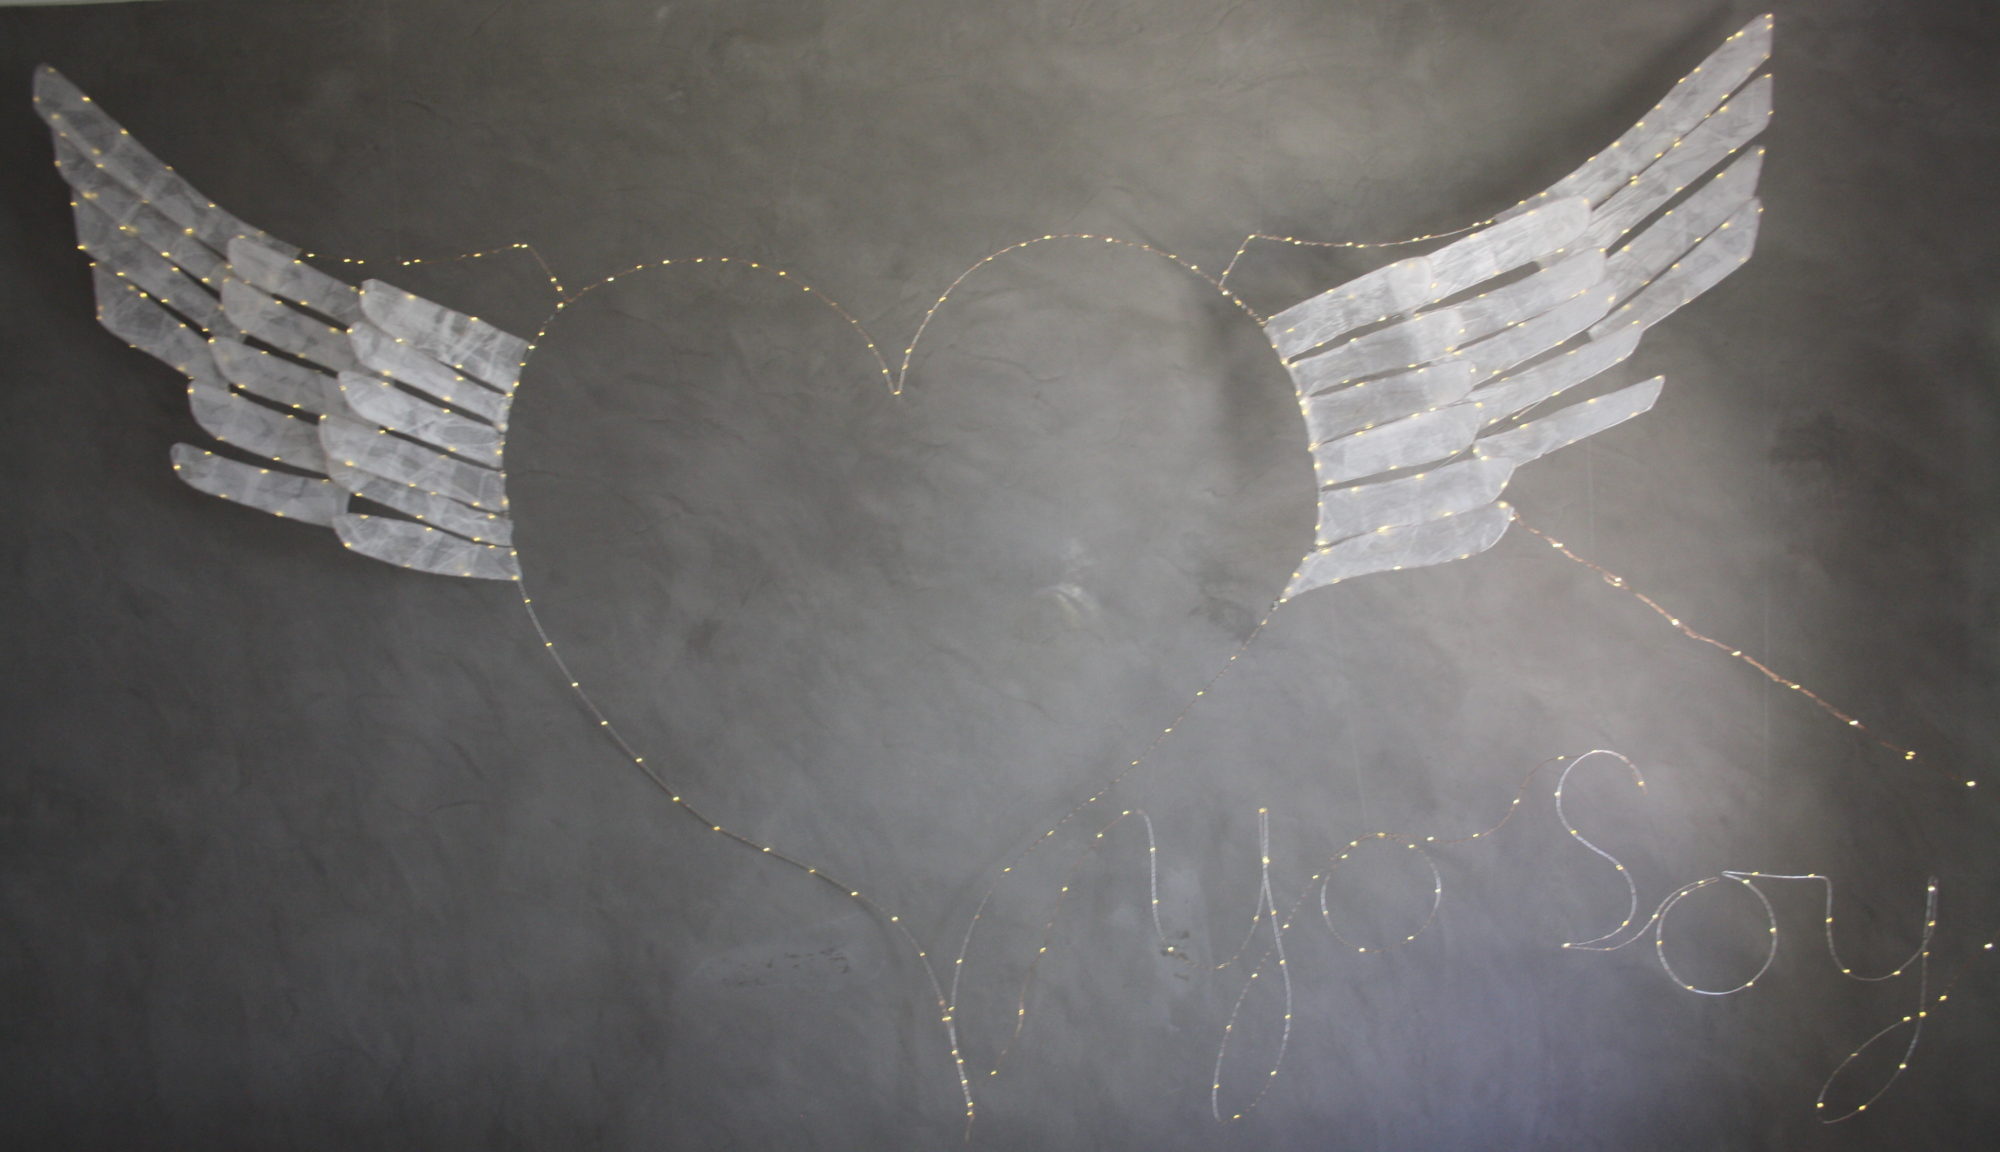
2017: “Yo soy”: with papier mache.
2016: With papier mache
2016: Accidental time lapse. 5 foot high.
2016: Quick to make, hard to photograph.
2017: 12 feet high. 4 lights severed in order to create the eyes.
2017: Carnaval costume
2017: My first solar form has finally found a home in El Tablero, Tenerife
2017: Gonzalo of Equipo Para let me put some eyes on the last old building left facing the water in Santa Cruz
2020: Just takes an hour to wrap a tree branch with lights and hang it somewhere.


 2017: Gonzalo of Equipo Para let me put some eyes on the last old building left facing the water in Santa Cruz

 2020
2020